
I am a Tutorial Noob (Nick is so proud of me right now for using the word Noob). Anyways there is a whole lot of me in this post...if you don't like it, then click out right about NOW. Are you still with me? Okay good! Today I shall be teaching you all how to curl your hair with a straightener! Who is excited??
Straightener Curls

1. Start with dirty and dry hair. I would suggest waiting a day after washing, because it will hold curl a lot better.
2. If you have a lions mane of hair like I do, you will need to separate your hair. Some people separate into fourths, but I usually do halves. It is personal preference, but usually you will want to tackle sections of your hair at a time to make it easier.

(Depending on how tight you want your curls, take about an inch section of your hair, and make sure it is combed through.)
3. Keeping your straightener perpendicular to your head, start by pulling your straightener downwards. Then flip the straightener towards you, under and back over, so that the hair is facing downwards again. (Making the hair loop around the straightener once) Keep pulling it downwards.
4. Once you have reached the bottom, roll the straightener back up towards the top of your scalp. (Like you were using a curling iron.)
5. Hold that section in the straightener for about 10 seconds, or until your hair feels hot to touch.
6. To release pull the straightener down (so that it would be parallel with your face) while loosening your grip on the straightener.

7. Repeat steps 3-6 on each section of hair. Spraying each curl with a bit of hairspray if your hair doesn't hold curl.
8. Make sure that you are always curling away from the face. If you curl inward, towards your face, you get a funky 80's look. Not cute.
9. Work your way through the bottom section, making sure all one-inch pieces are curled.
10. You think you are done, but you aren't. Release the beast that has been resting on the top of your head while you curled the bottom half. Reactions might be similar to the one above.

11. If you have shorter grown out bangs like I do, curl them a bit differently then the longer pieces.
12. Start at the bottom of the shorter hair pieces, and just roll all the way up towards your scalp, skipping Step 3 in the aforementioned curling process.
13. This creates a looser curl that frames your face a bit better.
14. Continue curling as normal with the rest of the top section of your hair. As you can see I am getting impatient because I have a massive amount of hair.
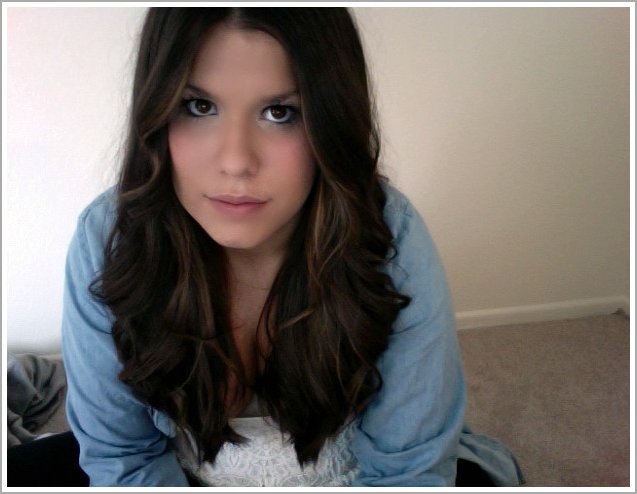
This should be your finished product! Yay! How did it go?
More importantly, how did my explaining go??? If you have any questions let me know, and I will answer them the best i can! Now get to curling!!!!


9 comments:
Sigh. I want your hair.
You're so pretty :)
Very cute! do you curl your bangs inwards towards your face or outward away from your face?
Your hair is so pretty- I would love to have thick hair like yours! I understood it perfectly:-)
So glad you posted this! Before a show once I had to do this and I just couldn't! I like your tutorial- very thorough!
Super cute! I wish my hair would hurry and grow, so I can do my hair in pretty, simple styles like this one! Thanks for the tips doll :)
:) nice!
i can never do them with the
straightner .. i always do mine
with the curling iron
your hair looks amazing!
love the last picture
xoxo
www.onlyaflightaway.blogspot.com
great tutorial, kai! your hair looks beautiful as always. do more!
Nice job! I always use my straightener instead of a curling iron...does a way better job!
Post a Comment